Similar rules apply to SFTP accounts for web hostings within WMS as those that apply to the classic NoLimit web hosting. This means that each time a web hosting is established, a master SFTP account is created, which is directed to the root directory of the web hosting. There, you will see session, tmp and www subdirectories.
You can also create any number of other SFTP accounts in the web hosting detail within WMS. There is one difference against webhosting NoLimit there. Each additional created SFTP account for webhosting within WMS doesn’t already have restricted access to the particular folder. For each SFTP account, you can still set the default path (either the webhosting root directory or to any subdirectory), but subsequently, it is possible to move throughout the SFTP account.
Once the SFTP account is created, the system will automatically send you access details by e-mail.
If you have deleted the e-mail with access details or you want to set them up again, you can do so in the customer administration in the SFTP detail for a specific web hosting within the WMS service.
For complete general information about FTP, for which similar rules apply as do for SFTP, go to our Knowledge Base – FTP Account for a web hosting.
Login to SFTP of a Web Hosting Within WMS
You can login to SFTP of a web hosting by using either of the following:
- Name and password
- SSH keys
Login to the SFTP of web hosting by names and password
You can use any ftp client that supports SFTP (SSH File Transfer Protocol), where you enter the SFTP address, name, password and connect.
Filezilla is very well known and multiplatform. You would find instructions in our knowledge base FTP client – Filezilla.
Login to SFTP of web hosting by SSH keys
To login into SFTP using SSH keys, you must first have a private and public key generated. You can do this by following the instructions in our Knowledge Base How to generate a private and public SSH key.
Copy the generated public key
You copy the generated public key from the id_rsa.pub file on your PC to the customer administration of a specific SFTP account.
- Log in to the customer administration
- In the main menu, click on the WMS tab
- In the list, click on the required WMS, where the web hosting is located
- In the left menu, select the “Webhosting List” link.
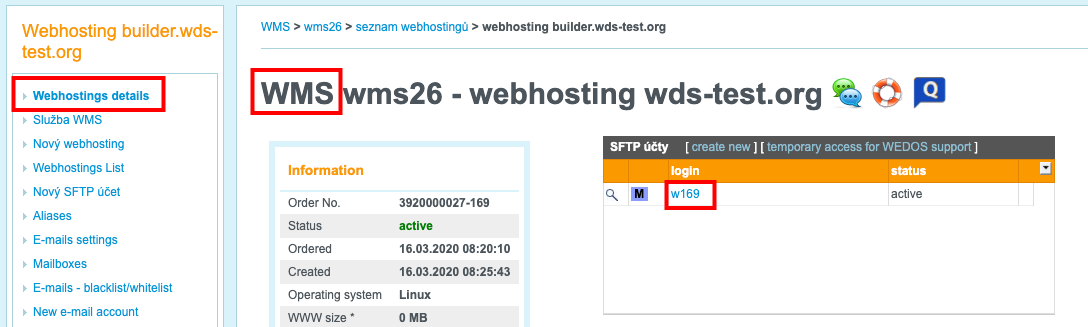
- In the List of web hostings, click the desired web hosting where you want to add the public key
- Now in the “Detail” on the right side of the screen, click on the specific SFTP account
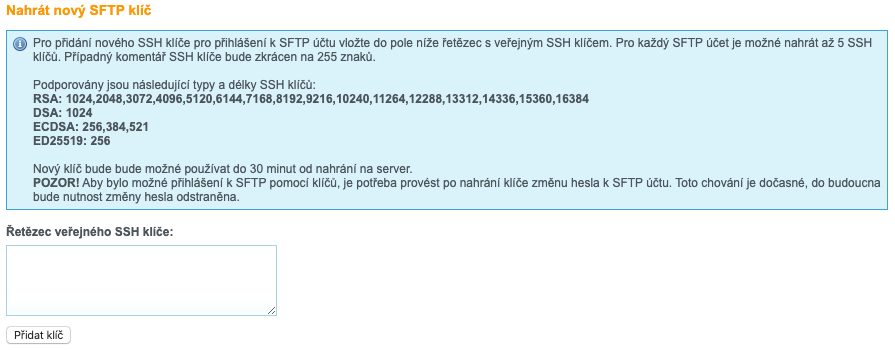
- Enter the generated public key in the “Public SSH key string:” text box
- SSH key is added


With the SSH key generated and added in this way, you can connect, for example, through the Filezilla multiplatform client. You will find specific instructions in our knowledge base FTP client – Filezilla.